Writing an Image or .img.bz2 File to USB under Windows OS
by: Revengsky Joseph D. Reyes -a.k.a rjdreyes
The things you need to extract and write an Image or .img.bz2 file to USB media under Windows Operation System:
– An application or utility to extract .bz2 zipped files using 7zip or equivalent unzip applications.
– An application or utility that can write an Image (.img) file to USB media, Win32 Image Writer will be a perfect tool.
– USB media that can hold and support the capacity of the image
(Note: In the following instructions, I’m going to used PCBSD.img.bz2 file as an example and demonstration on how to extract and write an image to USB media)
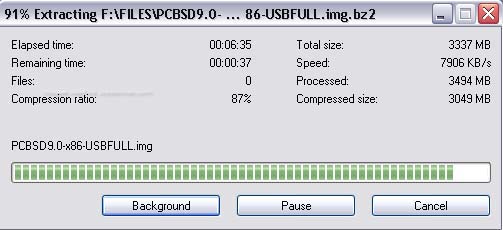
1. Extract the .img.bz2 file by using 7zip (if you don’t have one, click here to download).

Wait until it finish the extraction.
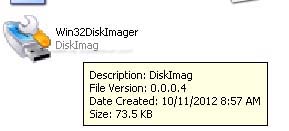
2. Used the Win32 Image Writer (if you don’t have one, click here to download).

Extract it then run the application.

Launch the Win32DiskImager, then find the image (.img) file by clicking Browse Folder, click on the device or drive letter corresponding to the USB media of your choice.
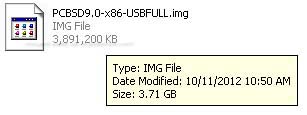
(In my example, I choose the location path then the drive letter I:\ for my USB media.)
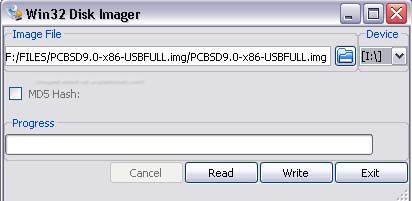
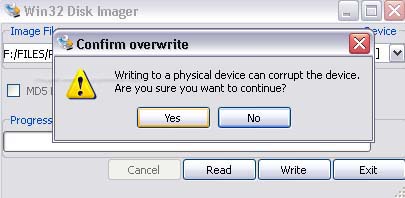
Click Write. A confirmation prompt that the USB media will be overwritten, click Yes. Wait until it finish.
That’s all! I hope this guide and tips helps you out! Cheers! 😀
(Note: Microsoft(Windows OS), 7-zip, Win32 Disk Image – Image Writer, PCBSD Logo/Images/Pictures has a respective copyright. I used it for demonstration purpose only.)
Related Links / Articles / Entries / References / Sources :
Download 7-zip Official Site
Download Win32 Image Writer for Windows Official Site


